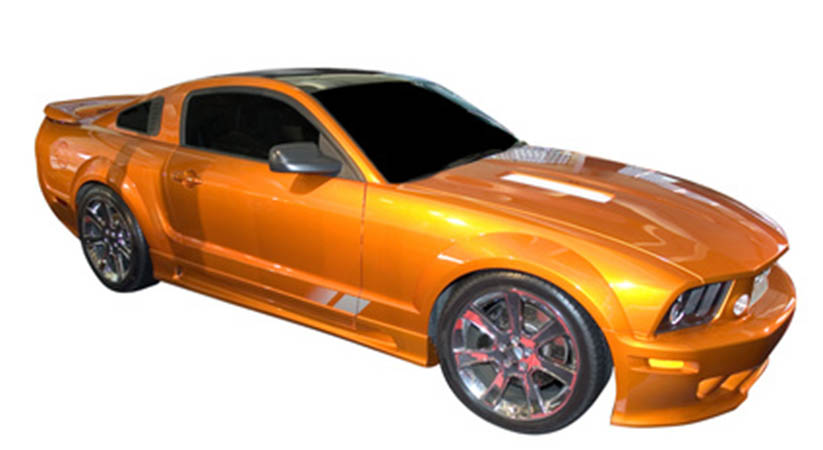
Car window tints tend to be a great addition, only if they are installed the right way. Not only do they improve the appeal of your vehicle but provide some security as well. At the same time, when it comes to auto glass tinting installation, you need to find someone who can provide the best value for money. Lousy tint jobs will only remain for a while until the film starts peeling away. Therefore, in this blog we are going to discuss how to fix peeling car window tints. Follow us!
Step 1
Using a razor blade, begin cutting around the peeling area. Make sure that you cut around the window edges. In most cases, window tints have two layers so make sure that you cut through it, till you reach the glass. Apply a moderate amount of pressure so that the window does not get scratched. Then, separate the peeling area from the undamaged one by slicing a line.
Step 2
Now create a solution of shampoo and water. Just water will work as well. Spray the solution or water so that the liquid enters the fresh cuts. Use a towel to clean the excess liquid. Make sure that you are not using ammonia-based cleaners and the water is distilled. The glue will be softened by water without dissolving it.
Step 3
Now turning the blade flat, cut around the section and push the blade underneath the tint film. Slowly and carefully, begin lifting the damaged section one bit at a time, do not hurry. Furthermore, spray water or solution as it dries. Then, give the window some rest so that the tint film can properly soak in the water.
Step 4
Now using the blade or any other tool, remove the glue. Be extra careful with stubborn remains. You do not want to damage your window mid-way. Once you are done removing the glue, use a lint-free towel to wipe the glass dry.
Step 5
Using the razor blade, cut a window tint section slightly larger than the exposed glass section. Remember, that the window tint film should be half an inch larger from all sides.
Step 6
Then, spray water or solution directly on the glass section. Remove the plastic layer from the rear of the tint and immediately place the glue side of the tint against the window while positioning it.
Step 7
Using a plastic window tint roller, squeeze the bubbles and run it over the entire tint film to make sure there are no lose ends. Be double-sure of the corners and edges. If required spray the tint and re-squeeze. Provide final touches by cutting the edges of the newly installed tint film so that it matches the undamaged tint. Finally, allow the tint to cure for at least a day. Do not roll your windows down and up. This could ruin the positioning of the tints.
Types Of Window Tints
Dyed Window Tint Film
This is the one of most affordable type of window tints. As the name suggests, these window tints are dyed to give a darker color. However, with time, these tints fade and do not block much heat as compared to other types of tints.
Ceramic Window Tint
Ceramic car window tints are the latest type and the most expensive. These films are designed to block 50% of infrared radiation along with 99% of ultraviolet rays. Moreover, the film is less vulnerable to swirls and scratches and provides excellent driving visibility.
Hybrid Window Tinting
Hybrid films consist of both dye and metallic particles. The most popular combination is grey dye and titanium. The reason being that it is neither too reflective nor too dark. Furthermore, it does a good job of blocking ultraviolet rays while providing privacy.
Final Word
Summing up, installing window tints requires patience, time and effort. If your window tints are peeling away, then you are up for even more effort and time. Therefore, if you were to consider the above mentioned tips, you can get the job done in a professional way and without having to worry about them peeling away in the future. Make sure you are choosing a reputable car window tinting shop Springfield to avoid bubbles or peeling issues.